After signing a Reseller Contract with our Sales Team, the installation process is divided into a few simple steps, such as:
- Obtaining your API Keys from the EasyDMARC Dashboard
- Downloading and installing the Module itself
- Configuring the module in your WHMCS Admin Panel
- Setting up EasyDMARC as a Product or an add-on to your existing products.
Note: The module requires PHP 8.1 and is therefore compatible with WHMCS 8.x versions. The Module’s functionality has been tested and verified on WHMCS 8.13
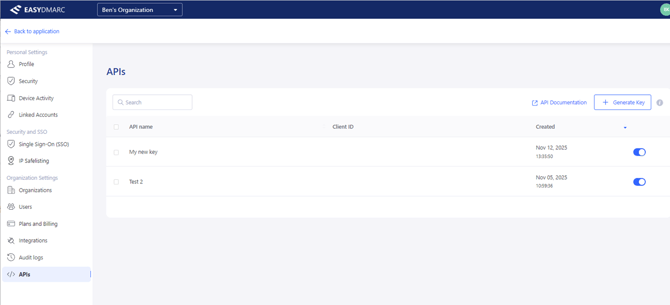
Step 1 - Obtain your API Keys from the EasyDMARC Dashboard
- Sign in to your EasyDMARC Account and go to our API Page.
- Click Generate Key to open and provide a name for your new Keys.
- Click Generate and you will be provided with Client ID and Secret Key
a. Copy both values and keep them confidential at all times
Step 2 - WHMCS Module Installation
- Download the module .ZIP file from here.
- Extract the downloaded package to your main WHMCS Directory
- The password to extract the file will be provided by our Sales Team upon signing the Reseller Contract.
Step 3 - WHMCS Server Connection setup
- Sign in to your WHMCS Admin panel and go to Settings → System Settings
- Find Servers from All Settings and select it.
- Click Add New Server and use the following details to set it up:
- Select Module → EasyDMARC
- Add Hostname → api2.easydmarc.com
- Username → use the generated Client ID
- Password → use generated Secret Key
- After providing all details, click Test Connection, and you should see a connection success message and server configuration page. Name your new Server and click Save Changes
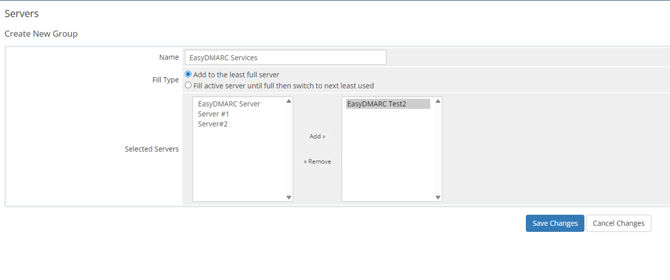
- Click Create New Group, provide a name, choose the newly created Server from the list below, and click Save Changes.
Step 4 - Product Group and Product Configuration in WHMCS
Create New Product Group
- Sign in to your WHMCS Admin panel and go to Settings → System Settings
- Find Products/Services from All Settings and select it.
- Click Create a New Group. Here you can provide:
- Group name, e.g., EasyDMARC Products
- URL
- Product Group Headline and Tagline
- Choose Order Form Template and Available Payment Gateways
- Keep Hidden option unchecked
- Click Save Changes.
Crete New Product
- Go back to Products/Services and click Create a New Product
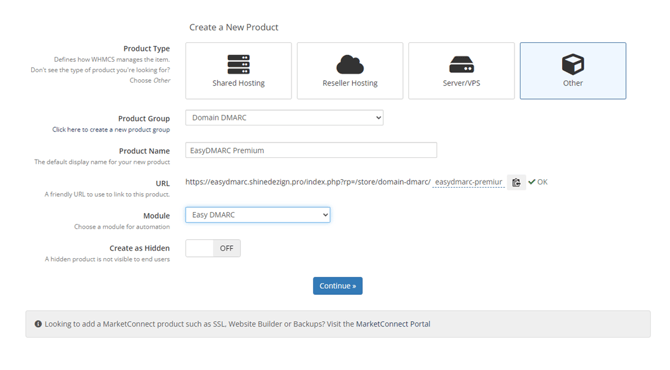
- Select Product Type, e.g. Other.
- Choose a previously created Product Group.
- Name your New Product, e.g., EasyDMARC Premium
- This will be the name your Customers will see.
- Choose the EasyDMARC module from the list.
- Create as Hidden should be set to OFF.
- Click Continue.
Configure New Product
After creating your new product, you should configure different options in the following tabs:
1. DetailsYou can update the previously provided values, add product descriptions, choose product color, etc. In addition, you can select the option to Require Domain during the EasyDMARC checkout flow. If selected, the domain name Customer provides will be automatically added to their EasyDMARC account.
Here you can configure the pricing for your product and choose options such as:
- Payment Type: Free, One-Time, or Recurring
- After selecting the Recurring option, you can choose if you want to sell it in monthly or annual subscriptions
- Configure all other needed settings according to your needs
3. Module Settings
In this page, you are selecting the EasyDMARC Product Plan that has been assigned to you when signing up for the Reseller Program. This Product Plan will be provisioned for the Customer. Leave Organisation and Domain Group values as None. In addition, you can choose when the product should be activated for the Customer, e.g., upon order placement or when you receive the payment.
4. Upgrades
You can define the upgrade paths for the configured product, for example, from Plus to Premium plan, depending on the Product Plans you are offering.
Configure EasyDMARC as a New Addon
You can also create EasyDMARC as an add-on and choose with which products it can be purchased, e.g., at a discounted price. Addon configuration is very similar to the configuration of the Product. You also need to specify details such as:
- Addon Name and description
- Pricing
- Which Product Plan should be provisioned at EasyDMARC when the Customer buys your Addon
- Most importantly, you need to choose Applicable Products for which Addons can be purchased.
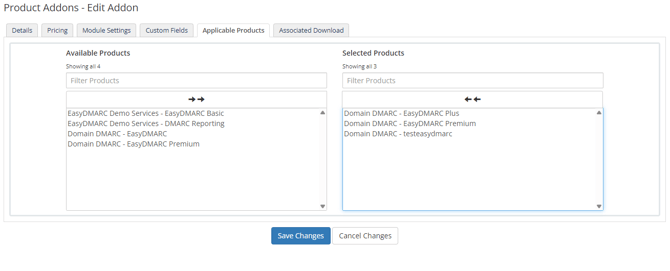
- After completing the Addon configuration, your Customers will be able to buy EasyDMARC, for example, with Domains or Hosting services.
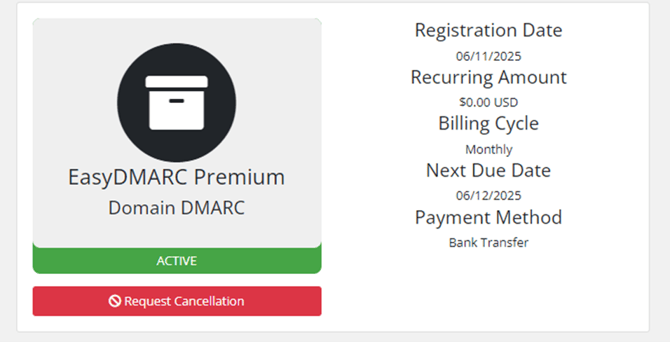
Customer Access to EasyDMARC after purchase
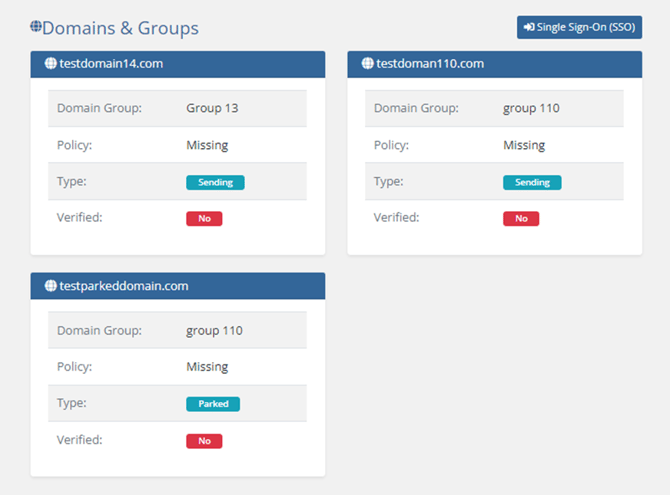
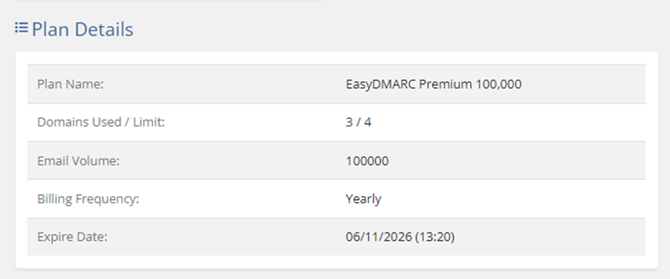
After purchasing EasyDMARC products from your website, Customers will be able to use a dedicated SSO (Single Sign-On) to access their EasyDMARC account. In addition WHMCS Customer panel will show them information such as:
- All Domains added to the EasyDMARC account with respective Domain Group names
- Their Plan Name
- Domains and Email Volume Limit
- Billing frequency and expiration date
Whenever there are any questions, feel free to reach out EasyDMARC experts.