1. Track Down the CNAME Record for Your Current DMARC Provider:
- Log in to your DNS hosting provider's control panel using your credentials.
- Locate the DNS management section or DNS settings.
- Search for the CNAME record associated with your current DMARC provider's DMARC setup. This record is named "_dmarc" and points to your provider's domain.
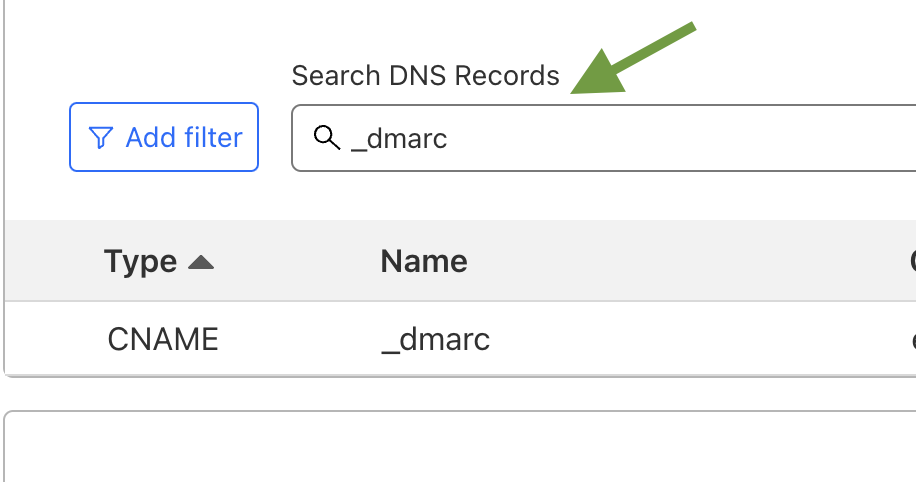
- Once you've identified the CNAME record linked to your current DMARC provider's setup, select the option to edit or delete it.
3. Create a TXT Record:
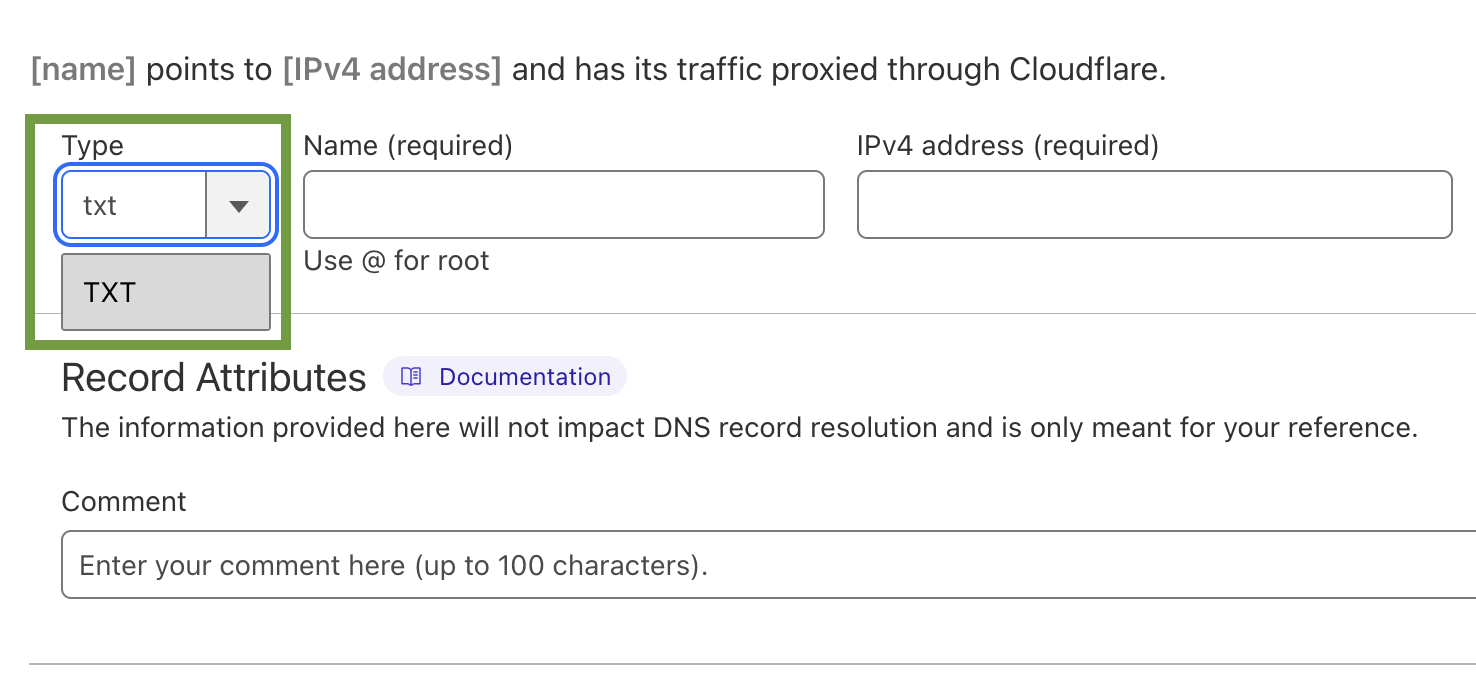
- Within your DNS control panel, look for an option to add or edit DNS records.
- Select "TXT Record" from the available record types.
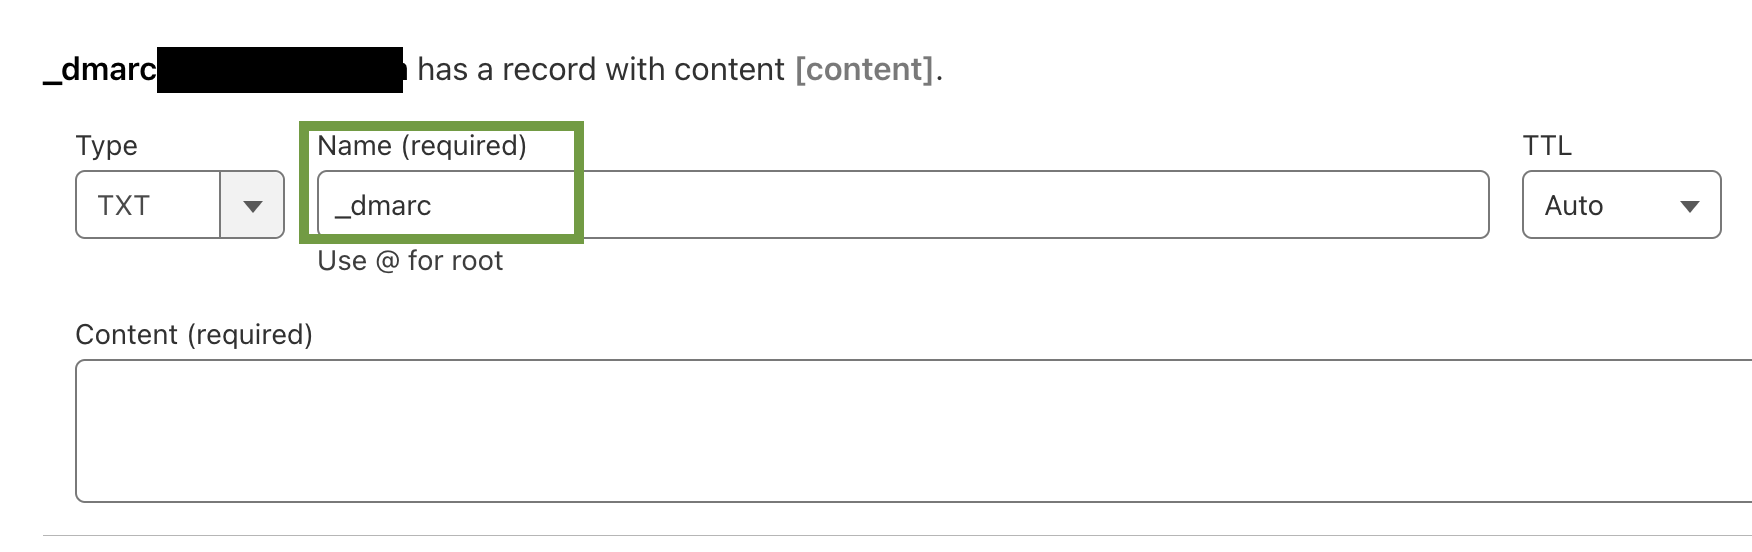
- In the "Host" or "Name" field, enter "_dmarc" (without the quotes). This specifies that the TXT record is for DMARC.
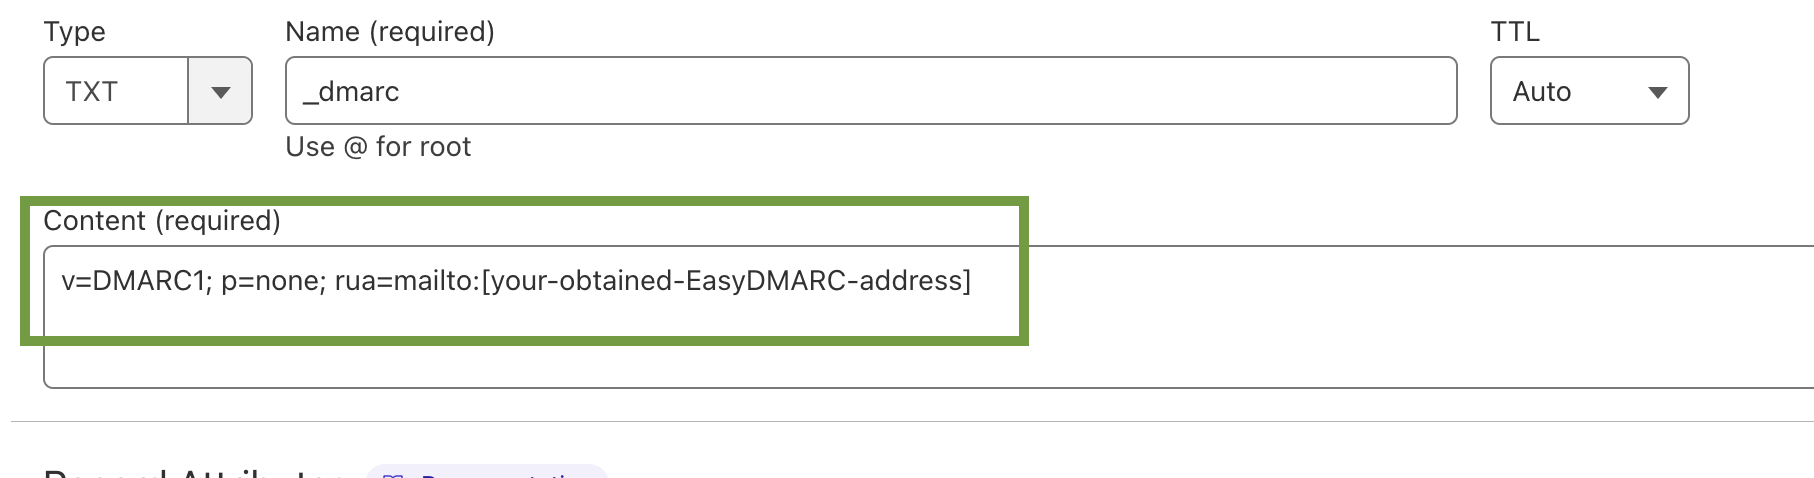
- In the "Value" or "Text" field, you will define your DMARC record. Copy the value obtained from your EasyDMARC portal and paste it in the Value/Text section
6. Save the Record:
- After defining your DMARC Record, save the TXT record.
DNS changes may take some time to propagate across the internet. Be patient and allow some time for the DMARC record to propagate.