
1. Access Your DNS Control Panel:
- Log in to your DNS hosting provider's control panel using your credentials.
- Locate the DNS management section or DNS settings.
- Within your DNS control panel, look for an option to add or edit DNS records.
- Select "CNAME Record" from the available record types.
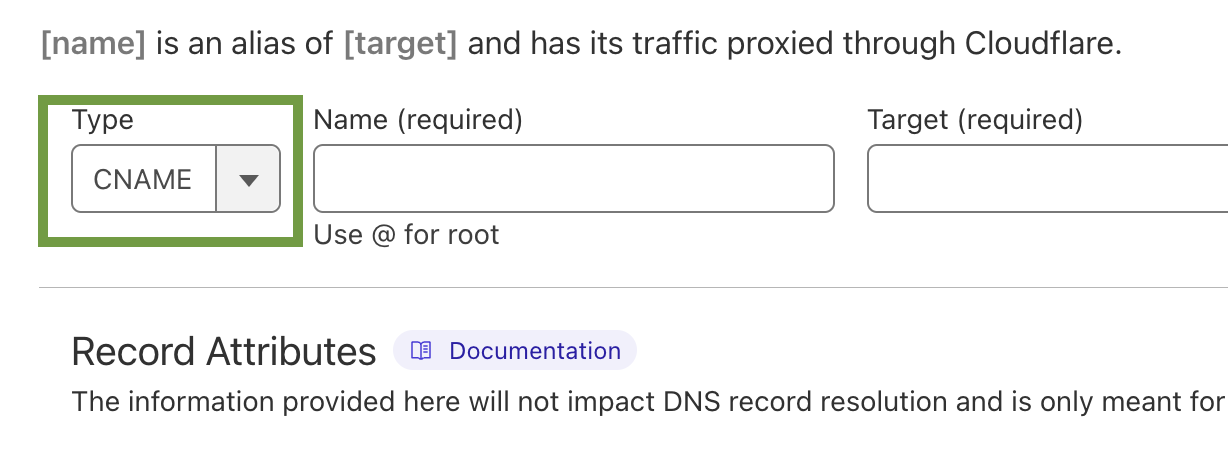
3. Set the Host/Name and the Value/Target:
- Copy the three record Host and Value from the EasyDMARC portal for Managed MTA-STS and TLS Reporting and paste them over into the three CNAME records created in DNS.

Note: Don't copy and paste the value in the screenshot. Yours will be targeted specifically for your own domain.
Note: If you're using Cloudflare make sure to turn off Cloudflare's Proxy Status.
4. Save the Record:
- After defining your CNAME Records, save them.
DNS changes may take some time to propagate across the internet. Please be patient and allow some time for Managed MTA-STS/TLS-RPT to activate.