Setting up Managed BIMI from scratch
EasyDMARC’s Managed Solutions include Managed BIMI, designed to help domain owners navigate the complex process of configuring BIMI, which often requires advanced technical expertise.
Before proceeding with Managed BIMI, it's important to note that having a BIMI record requires your domain's DMARC policy to be set to either “p=quarantine” with “pct=100” or “p=reject.” A “p=none” policy will not qualify, as it does not provide active protection for your domain.
Now, when the domain’s DMARC policy is enforced, let’s review the steps of setting up Managed BIMI from scratch:
Step 1: Navigate to EasyDMARC’s Managed BIMI section of Managed Solutions from the left sidebar

Step 2: Upload your VMC certificate or the SVG format logo

Step 3: Once the VMC certificate or the SVG format logo is successfully uploaded, click on the “Save changes” button. A pop-up will appear informing you that you need to adjust your DNS records so the changes go live
Step 4: Click on the “Setup DNS” button on the pop-up. The system will provide you with the relevant CNAME type BIMI record
Step 5: Copy EasyDMARC’s provided CNAME type BIMI record
Step 6: Navigate to your DNS host page(in this example it’s Cloudflare) and create a new CNAME type record obtaining the information provided by EasyDMARC
Note: Make sure that any existing BIMI records are removed before adding the one that EasyDMARC provided.
The proxy status on the newly created CNAME record should be disabled.

Step 7: Once the record is added, navigate back to EasyDMARC and click on the “Verify” button

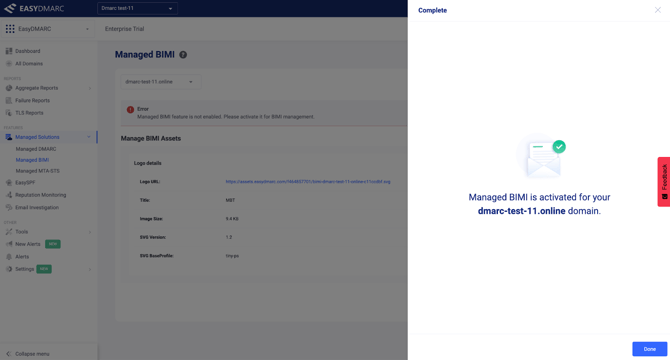
Once the record is propagated, Managed BIMI for your domain will be activated

To double-check your BIMI configurations, you can use EasyDMARC’s BIMI record checker
If you encounter any difficulties, please don’t hesitate to contact our support team by submitting a ticket.