
1. Access Your DNS Control Panel:
- Log in to your DNS hosting provider's control panel using your credentials.
- Locate the DNS management section or DNS settings.
- Within your DNS control panel, look for an option to add or edit DNS records.
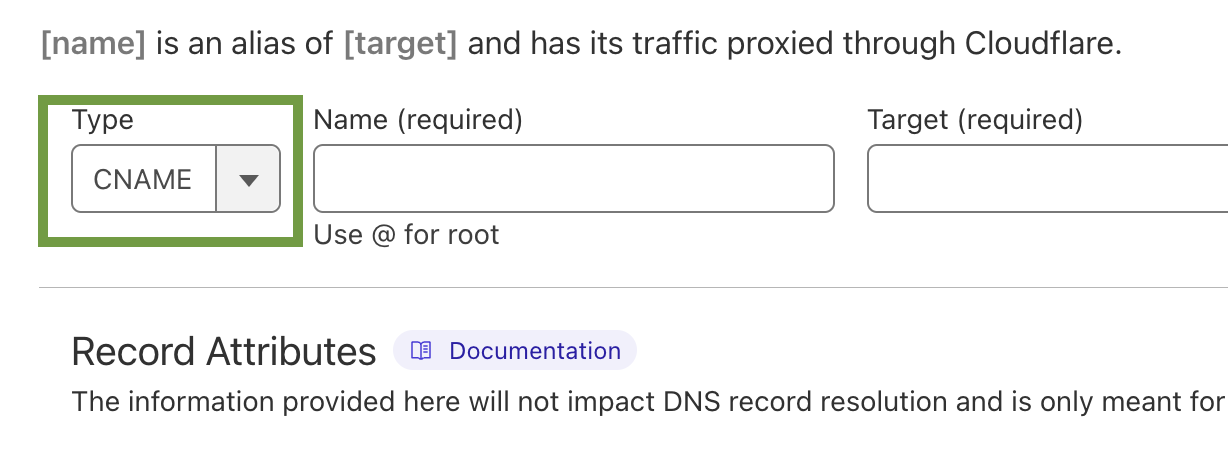
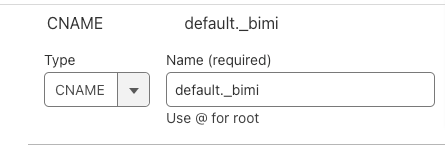
- Select "CNAME Record" from the available record types.
- In the "Host" or "Name" field, enter "default._bimi" (without the quotes). This specifies that the CNAME record is for Managed BIMI.
- In the "Value" or "Text" field, you will define your BIMI record. Copy the value obtained from your Managed BIMI portal and paste it into the Value/Target section

Note: Don't copy and paste the value in the screenshot. Yours will be targeted specifically for your own domain.
Note: If you're using Cloudflare make sure to turn off Cloudflare's Proxy Status.
5. Save the Record:
- After defining your BIMI Record, save the CNAME record.
DNS changes may take some time to propagate across the internet. Be patient and allow some time for the BIMI record to propagate and for Managed BIMI to activate.