In your OneLogin Admin portal, click on Applications -> Add App -> SAML Test Custom Connector (Advanced) and click on Save (Optional: Change the App Display Name to EasyDMARC)

Click on Configuration from the left side, then select More Actions from the top right and download the Metadata XML

Once the XML is downloaded head back to your EasyDMARC SSO Setup page and upload the file, and Validate and Save: https://account-console.easydmarc.com/sso

Important Note: Make sure to disable any OAuth logins by heading to Linked Accounts (Google, Microsoft, LinkedIn), and then proceed with the SSO setup.

Copy both the Entity ID and Assertion URL (Fully) and paste them into Onelogin, like the screenshot below:

Important Notes
- Audience (EntityID) must be https://uac.easydmarc.com/realms/easydmarc
- ACS URL Validator must be .*
Lastly, go to the Parameters tab, and add new Fields with:
IMPORTANT NOTE: “Field Name” values are case-sensitive, and should be applied with the exact format listed below:

Field Name: firstName
Check the Include in SAML assertion

Click Save
Input Value: First Name

Do the same process by adding other Fields with:
Field Name: lastName
Check the Include in SAML assertion
Input Value: Last Name
Field Name: email
Check the Include in SAML assertion
Input Value: Email
Your final result should look like this:

… and that’s it. You can now start logging in to your EasyDMARC portal by using your OneLogin’s SAML 2.0 Endpoint (HTTP)
After completing the steps above, please follow the instructions below:
- Log out of your EasyDMARC account.
- Open an incognito/private browsing tab.
- Log in using the application created in your identity provider (IDP).
- You will be redirected to EasyDMARC, where you’ll see a prompt to link your account to SSO.
- Click the link to initiate the account linking process. (as shown in the First Screenshot)
- Check your inbox for an email from EasyDMARC (as shown in the Second Screenshot).
- Click the link in the email to complete the login.


Note: After SSO is set up, avoid using the OAuth login options (Microsoft, Google, LinkedIn) on the EasyDMARC login page. Using them may create a new, separate account. Since your login method is now SSO, simply enter your email address on the EasyDMARC login page and click “Sign in.” The system will redirect you through your configured SSO.
Please make sure to communicate this instruction internally with your team as well.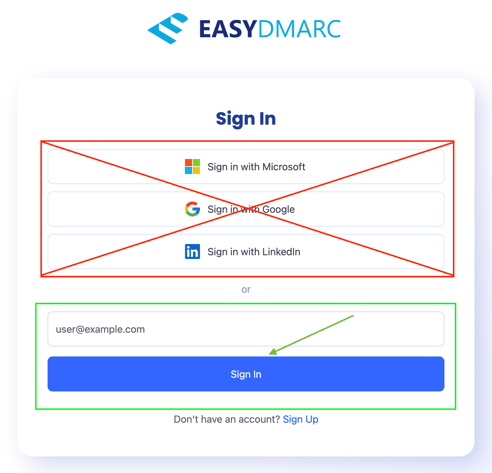
EasyDMARC Supports SCIM Provisioning with OneLogin, Which Can Be Set up Using This Guide.
If you encounter any limitations, please reach out to our Support Team.