
Wooxy is an email and omnichannel marketing automation platform (formerly SmartSender) that lets businesses send email, SMS, and messaging campaigns, manage automations, and track engagement performance from a single dashboard.
To integrate Wooxy with EasyDMARC, please check the steps below:
Before you start:
- An EasyDMARC account with permission to manage integrations (Organisation Admin or equivalent).
- A Wooxy account whose role can access email statistics (for Sender Insights) and manage Domains (for DNS records).
- The sending domain you use in Wooxy.
Step 1 — Check your Wooxy role has the right access
Wooxy uses role-based access control, and everything below runs through a single Access-Token, so the account behind that token needs:
- Email / statistics access — so EasyDMARC can read delivery, open, click, and bounce data for Sender Insights.
- Domain management — so EasyDMARC can read, generate, and verify your sending domain's SPF/DKIM records.
If you're not the account owner, ask your Wooxy admin to grant these to your role (or to generate the token for you).
Step 2 — Generate an API Key
1. Log in to Wooxy.
2. Open account settings → API Key.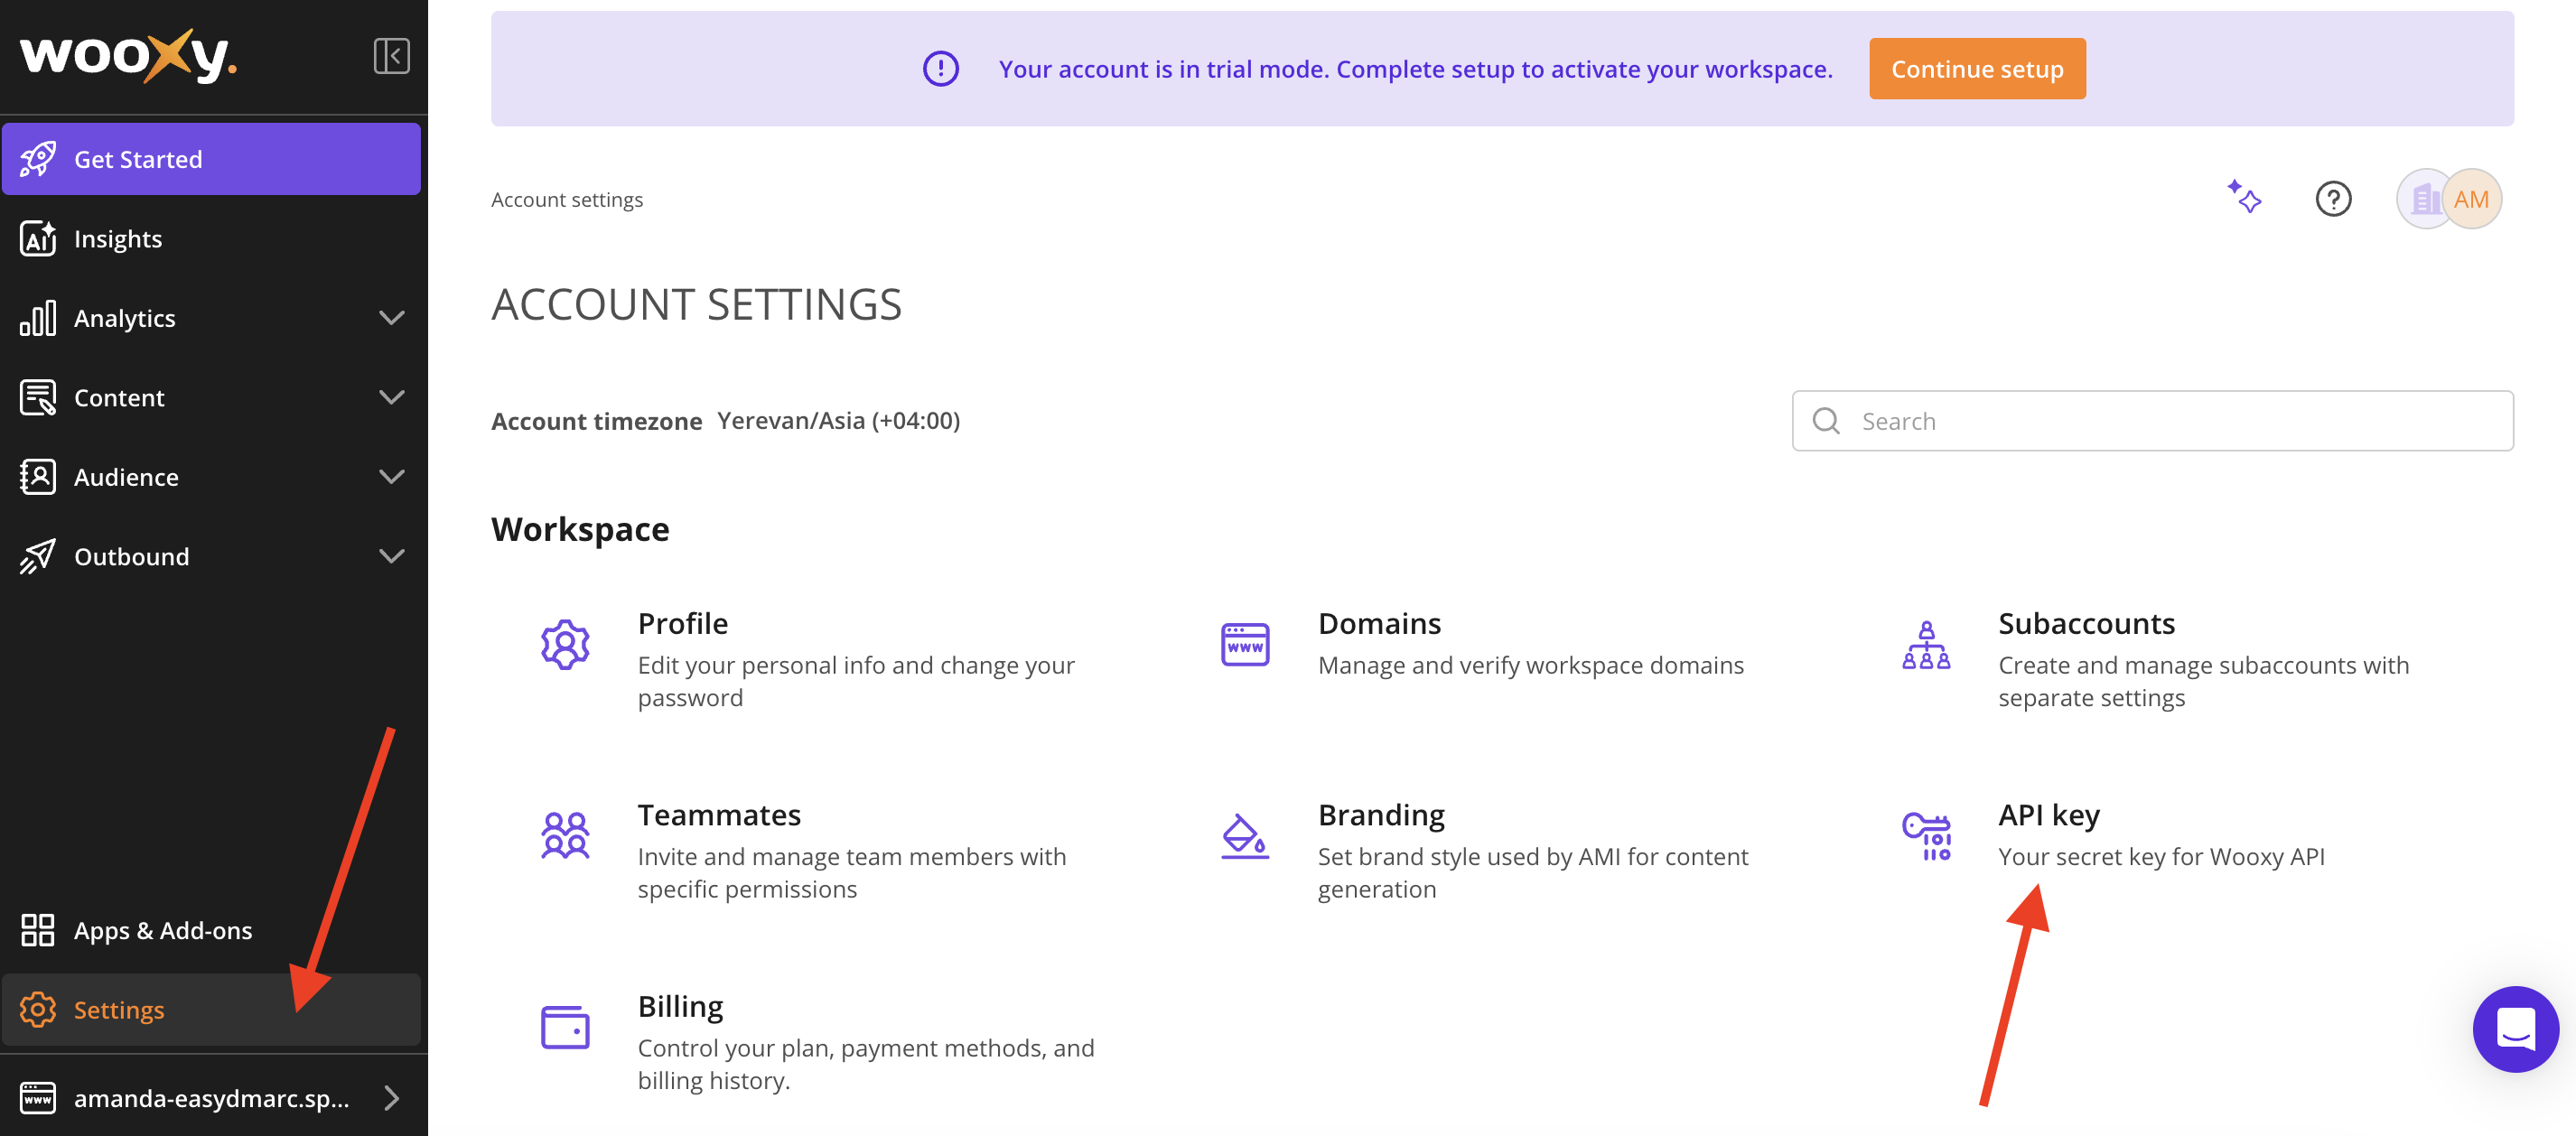
3. Generate (or copy) your API Key. Treat it like a password.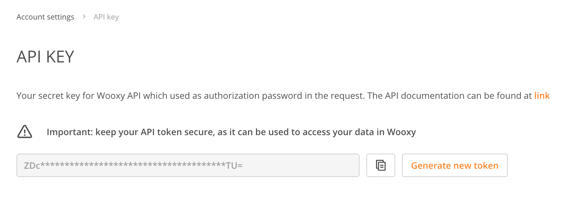
Step 3 — Connect in EasyDMARC
1. In EasyDMARC, go to Integrations → Wooxy.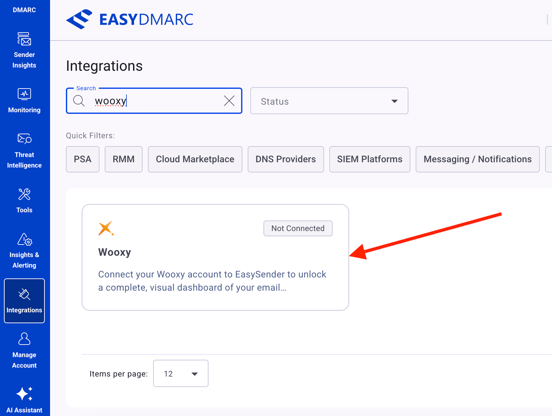
2. Select the "Connect Account" button.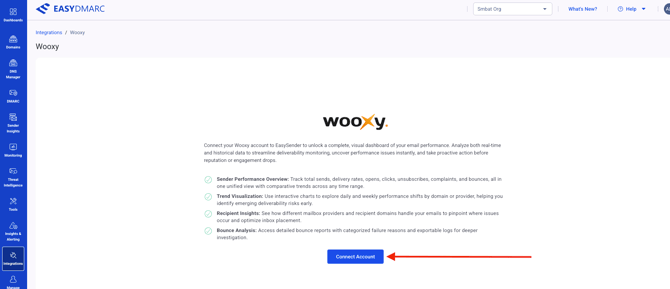
3. Paste the Access-Token and select "Next".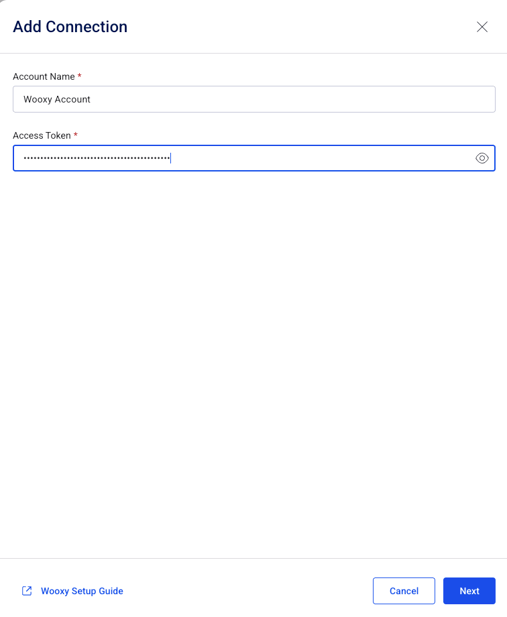
4. EasyDMARC confirms the connection and the access it detected (statistics + domains).
What happens after connecting:
- Sender Insights starts showing your Wooxy delivery, open, click, and bounce rates.
- Sending domain records — EasyDMARC detects and verifies your Wooxy domain's SPF/DKIM automatically to complete the configuration of Wooxy as a sending source.
If there are still questions or concerns that remain uncovered after checking this article, you can contact EasyDMARC Technical Support.